ServiceBell offers meetings to qualified visitors based on rep availability. Upon connecting your Google Calendar, ServiceBell allows visitors to book meetings directly on your calendar, and automatically toggles you offline during meetings so you won’t miss calls. You can also mark your calendar as “Busy” when you’re out of office or don’t want to take calls
Here’s how to setup this powerful integration:
Connect Your Calendar
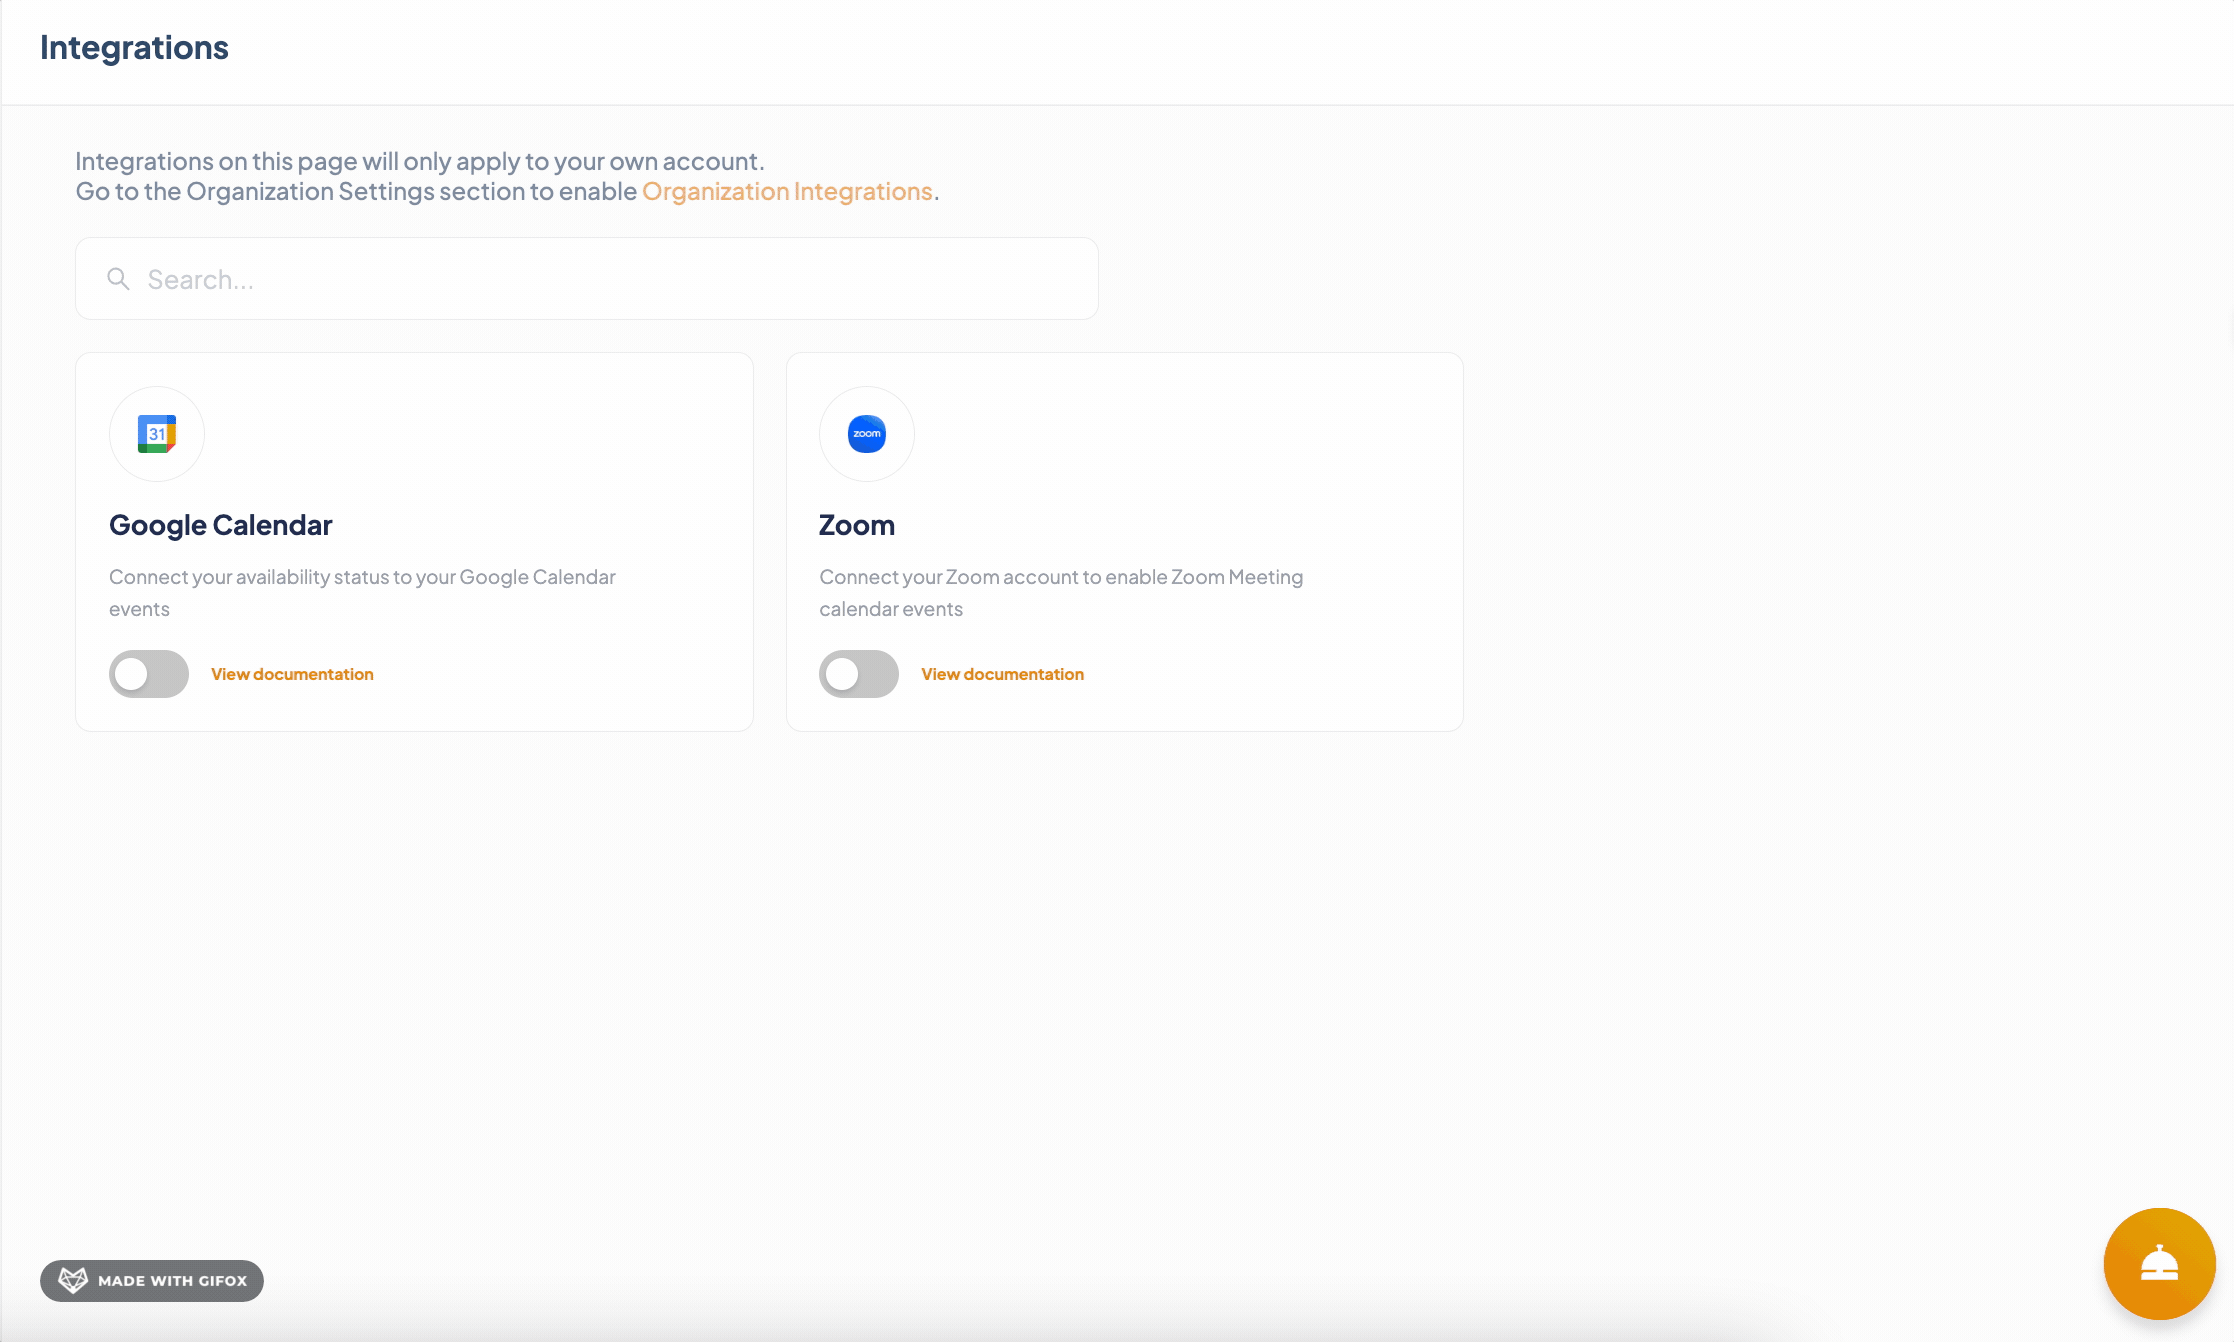
Navigate to Settings > User Integrations and find the Google Calendar integration.

When you toggle the integration on, you’ll see an O-auth prompt pop-up. Click “Sign in with Google” and choose your account. Allow permissions, and you’re all set!
Configure Hours of Availability
Once your calendar is connected, configure your default working hours in ServiceBell. During working hours, you’ll be available to receive chats and calls. If you don’t want to receive chats or calls during a specific timeframe (like after you clock out), make sure you specify working hours properly!
First, navigate to Scheduling > Working Hours.

Choose the days and times when you’re generally available.

Toggling Offline
You don’t always have to be online during your hours of availability. Toggle yourself online or offline manually from the ServiceBell dashboard, in case you need to step away for a bit.
ServiceBell also automatically toggles you offline when:
- Your laptop is closed
- Your computer is idle and goes to sleep
- your internet connection stops working
Create Event Types
ServiceBell Rep Pages allow reps to book meetings easily with prospects and customers from the ServiceBell widget, or a personal meeting link you can send to prospects.
Let’s set up your first event type, so prospects can start booking meetings directly in your calendar.
Create Your First Event
Navigate to Scheduling > Event Types and click New event type.

First, you’ll be prompted to enter the “Event name”, which shows up on the Google Calendar event when you’re booked. Choose a meeting Location from the dropdown menu (Google Meets, Zoom, phone, in-person, or a ServiceBell call.)
Your “Description/instructions” populate on the calendar event description. This is a great place to add the event type’s meeting goals, agenda, and anything else attendees should expect/prepare for the meeting.

Next, choose when attendees can book time.
You can configure:
- How far into the future Invitees can schedule (indefinitely, one week out, one month out, etc.)
- Event duration (15, 30, 45, 60 minute meetings)
- Hours of availability (when invitees can schedule, using your default working hours or custom scheduling hours)
- Buffer time before and after the event (so you’re not booked back-to-back)

Lastly, set up custom qualification questions for invitees, in addition to their name and email.


Click save in the top right, and you’re all set with your first event type.
Next, let’s customize your rep page.
Design Your Rep Page
Rep pages are a personal landing page for prospects and customers. Add your profile picture, a bio, testimonials, and more. Best of all, you can engage rep page visitors in live video conversations.

Your profile picture, name, and job title automatically populate from the “Account” settings you already configured in part one. If you don’t see your profile picture, name, or title populating here, go back to step one before continuing.

Next, upload a professional banner for your scheduling page.

Speaking of LinkedIn, let’s add our social profiles to the scheduling page. Make sure you only copy and paste the URL after the default URL in the grey box below.


Next, add any testimonials you’re proud of to your profile. Below, I added a recommendation from a colleague of mine at CloudTalk:

Instant meetings is the best part about your rep page. Toggle “Allow instant meetings” if you want to blow away prospects with realtime video conversations, right on your rep page. You’ll be online during the Hours of Availability you configured earlier for ServiceBell Live Chat.
Upload your profile picture, add your unique scheduling page URL, and you’re good to go!

Add Rep Page To Your Email Signature
Now that you have your first event configured and a personalize rep page, it’s time to share with prospects!

Start by adding your personalized rep page to your email signature. This is an easy way for prospects and customers to visit your page and schedule time, or initiate a realtime conversation.
Conclusion
ServiceBell Scheduling unlocks seamless meetings between prospects, customers, and agents. Connect your calendar and configure hours of availability so you never miss a call. Create your first event, and personalize your rep page, so prospects can instantly book time with you.